



20 Low Prep Process Art Activities for Parents and Teachers
Process art for kids is a child-directed, open-ended approach where making is the point, not the finished product. The primary payoff is developmental: fine motor control, problem-solving, and creative confidence grow every time a child squishes paint, stacks loose parts, or mixes colors with no “right” outcome in mind. What follows is a practical guide to setup, materials, and age-by-age activities you can start using today, whether you’re working in a classroom or at your kitchen table.
TL;DR:
- Using a curated, minimal set of materials fosters deeper exploration and problem-solving, as too many options can overwhelm children and hinder engagement.
- Process art should have no templates or models, allowing children to choose how, when, and whether to use each material, which builds autonomy and decision-making skills.
- Providing age-appropriate supplies, such as larger tools for toddlers and more complex mixed media for older children, encourages skill development and independent creativity.
- Simple containment tools like trays and sealed bags help manage mess while still supporting open-ended exploration across all age groups.
- Focusing on objective narration of actions and documenting the process through photos enhances engagement and emphasizes the experience over producing a perfect product.
Table of Contents
- What Makes Process Art Different From Craft Projects?
- The Developmental Case for Open-Ended Art Supplies
- How to Set Up Process Art Invitations Without Losing Your Mind
- Adapting Process Art by Age and Ability
- 20 Process Art Activities Worth Trying
- Building Process Art Into a Regular Routine
- Who’s Behind This Guide, and Where to Find Vetted Supplies
- What Most Advice Gets Wrong About Process Art
- Starter Picks for Your Process Art Supply Bin
- Sources
- FAQ
What Makes Process Art Different From Craft Projects?
Process art hands the child the wheel. There’s no template to copy, no sample project pinned to the wall, and no “correct” way to finish. The adult sets up an inviting space with interesting materials, then steps back and lets exploration lead. TinkerLab describes process art as a child-directed approach that prioritizes discovery and experimentation over the final physical product, and that distinction shapes everything else in this guide.
Compare it to product-focused crafts, where every child glues the same pre-cut leaf shapes onto the same paper tree, or traces a stencil so all thirty finished pieces look identical. Process art flips that script entirely.
A project is genuinely process-led when you notice these signs:
- Children choose how, when, and whether to use each material.
- There’s no model piece showing what the “finished” version should look like.
- Kids can stop, restart, or abandon the activity without producing a flawed result.
- The adult’s role is setup and support, not step-by-step instruction.
The Developmental Case for Open-Ended Art Supplies
Process art works because it targets several developmental domains simultaneously, not just artistic skill. Squeezing, pouring, and gripping tools builds fine motor strength and hand control, while deciding what to try next exercises problem-solving. Research from The Gardner School links this kind of unstructured material exploration to independence and creative problem-solving, since children aren’t following anyone else’s model.
The social and language benefits deserve equal billing. According to NAEYC, process art supports social and emotional development and doubles as a tool for language growth and classroom documentation when educators provide curated materials and enough time for exploration. Sharing a single tray of paint with three other kids forces negotiation, turn-taking, and vocabulary that a solo worksheet never will.
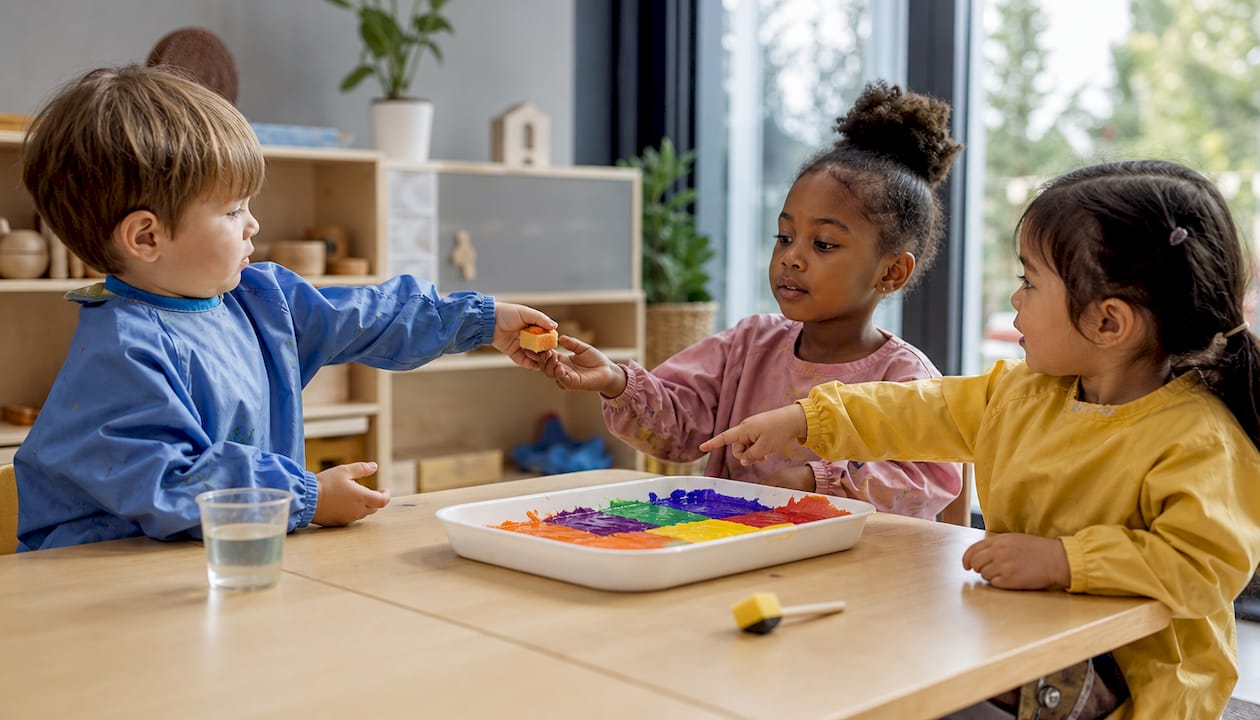
Benefit Highlight: NAEYC notes that intentionally limiting shared tools during process art sessions encourages more social negotiation and richer language use, not less engagement. Scarcity, used deliberately, becomes a teaching tool rather than a limitation.
Quick benefit rundown:
- Fine motor control: gripping brushes, tongs, and droppers strengthens the small hand muscles used later for writing.
- Cognitive flexibility: no fixed outcome means kids test, fail, and adjust in real time.
- Language and social skills: shared materials prompt requests, descriptions, and turn-taking.
- Emotional regulation: there’s no “wrong” answer, which lowers performance anxiety around art.
How to Set Up Process Art Invitations Without Losing Your Mind
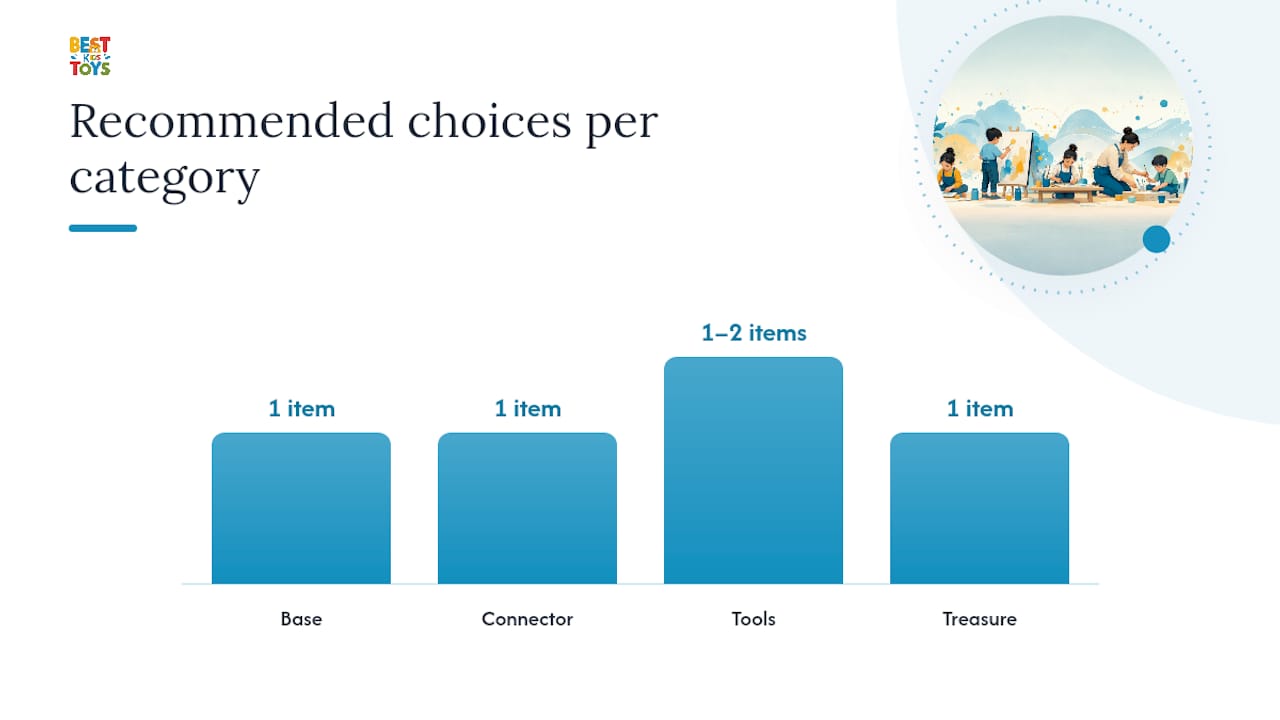
Every strong process-art invitation follows a simple structure. TinkerLab’s framework breaks it into four parts: a base (paper, cardboard, a tray), a connector (paint, glue, water), a tool (brush, sponge, fork), and a treasure (something novel, like pom poms or natural bark). Curate two or three options per category rather than dumping the entire art closet on the table. TinkerLab’s own findings back this up directly: fewer, curated choices tend to spark deeper problem-solving than an overwhelming buffet of supplies.
Containment keeps the mess from swallowing your day. Muffin tins corral small amounts of paint by color, shallow trays catch spills from sensory bins, and sealed plastic bags let toddlers squish paint or shaving cream with zero direct contact. None of these require special purchases. They’re practitioner staples that work because they limit the mess zone without limiting the exploration.
Here’s a fast setup checklist for a first-time invitation:
- Choose one base (a paper plate, cardboard scrap, or tray).
- Pick one connector (washable paint, water, or glue).
- Add one or two tools (a brush, a fork, a cotton ball).
- Toss in one “treasure” item for novelty.
- Set it on a washable surface or inside a containment tray.
- Step back and let the child lead.
Pro Tip: Keep supplies at child height in labeled bins so kids can self-serve without asking permission. That small shift, letting them choose and fetch materials independently, reinforces the autonomy that makes process art work in the first place.
Adapting Process Art by Age and Ability
A two-year-old and a nine-year-old need very different setups, even for the same core activity.
- Toddlers (1 to 2 years): Stick to sealed-bag invitations (paint or shaving cream inside a zip-top bag taped to a table) and tray-based sensory play. Use oversized tools, expect mouthing behavior, and stay within arm’s reach the entire time.
- Preschoolers (3 to 5 years): Introduce loose parts (buttons, twigs, fabric scraps) and mixed media like paint plus collage materials. Sessions can stretch to 20 or 30 minutes, and supervision can shift from constant to periodic check-ins.
- Older kids (6 and up): Layer in more complex materials, printmaking blocks, wire, clay, multi-step processes, and let mixed-media exploration run long. Independence here means real independence: set the materials out and leave the room.
For children with sensory sensitivities or motor differences, swap small pieces for larger, easier-to-grip tools and offer a non-messy alternative (dry loose parts instead of wet paint) alongside the main invitation. A partner’s guide to sensory play walks through additional ways to calibrate sensory intensity for different developmental needs.
20 Process Art Activities Worth Trying
These break into five categories: painting techniques, printmaking, sensory mixtures, loose-parts work, and outdoor invitations. Mess level is noted so you can plan around nap time or carpet.
- Marble painting — Roll paint-dipped marbles in a shallow box. Low mess. Variation: swap marbles for small toy cars.
- Straw painting — Blow diluted paint across paper through a straw. Low mess.
- Spin painting — Drip paint onto paper on a salad spinner. Medium mess.
- Smush painting — Paint between two folded papers, then press flat. Low mess.
- Shaving cream marbling — Swirl food coloring into shaving cream, press paper on top. High mess.
- Bubble prints — Blow colored bubble solution onto paper. Medium mess.
- Leaf and object printmaking — Ink natural objects and stamp them. Low mess.
- Sponge stamping — Cut sponges into shapes for open stamping. Low mess.
- Salt and glue drawings — Draw with glue, sprinkle salt, add watercolor. Low mess.
- Ice cube painting — Freeze paint into cubes, let them melt across paper. Medium mess.
- Sensory bin excavation — Bury loose parts in rice or beans for discovery play. Medium mess.
- Playdough invitations — Pair homemade dough with tools like rolling pins and gears. Low mess.
- Loose-parts collage — Arrange buttons, twigs, and fabric on cardboard with glue. Low mess.
- Nature weaving — Weave leaves and grass through a stick or paper plate loom. Low mess.
- Water painting — Brush plain water onto pavement or a fence outdoors. No mess.
- Mud painting — Use mud as a natural paint outdoors. High mess.
- Large-scale butcher paper murals — Roll out paper outside for group painting. High mess.
- Chalk and water combo — Wet chalk before drawing for a paint-like effect. Low mess.
- Foil sculpture — Shape aluminum foil into freestanding forms. No mess.
- Tape resist art — Apply painter’s tape shapes, paint over, then peel. Low mess.
For busy days, straw painting, sponge stamping, and water painting need almost no cleanup and no special supplies. Little Bins for Little Hands curates similar low-prep invitations if you want more variations to rotate through.
Building Process Art Into a Regular Routine
Consistency matters more than duration. A 15 to 20 minute session two or three times a week beats one elaborate monthly event, and rotating just two or three invitations at a time keeps materials fresh without requiring constant restocking.
- Assign cleanup roles kids can actually handle: wiping trays, capping paint, sorting tools back into bins.
- Photograph the process in sequence, not just the final result, and add captions noting what the child said or tried.
- Skip evaluative praise (“that’s beautiful”) in favor of objective narration (“you’re mixing the blue and yellow together”), a facilitation technique TinkerLab recommends because it sustains motivation better than judgment-based comments.
- Share photo sequences with families instead of framing finished pieces, which keeps the focus on the experience rather than product quality.
Who’s Behind This Guide, and Where to Find Vetted Supplies
This piece draws on developmental frameworks from NAEYC and practical setup guidance from TinkerLab, cross-checked against classroom-tested activity lists. This guide focuses on Montessori-inspired, safety-reviewed materials that support this kind of open-ended play.
A few notes on how the brand fits here:
- Products are reviewed for safety and durability before being listed for sale.
- The catalog leans toward open-ended toys rather than single-outcome kits, matching the process-art philosophy.
- These supplies support open-ended invitations, they don’t replace the loose parts and homemade materials that make process art work in the first place.
What Most Advice Gets Wrong About Process Art
The biggest misconception floating around parenting forums is that process art requires either total chaos or a fully stocked art room. Neither is true. The research points the other way: TinkerLab’s own findings show that fewer, curated materials produce deeper engagement than an overflowing supply bin. A base, a connector, one tool, and a single “treasure” item outperform a table covered in every craft supply you own.
The second thing conventional advice misses is praise. Parents want to say “that’s beautiful” the moment a child finishes something colorful, but objective narration, describing what a child is doing instead of judging it, keeps kids more engaged over time. That’s a harder habit to build than buying supplies, and it matters more.
If you’re starting from zero, prioritize the setup framework before the activity list. A well-curated invitation with three materials will outperform an elaborate 20-step project every time, because the structure, not the complexity, is what invites real exploration.
— Danica Hodge
Starter Picks for Your Process Art Supply Bin
You don’t need a fully stocked art closet to start. A few well-chosen, open-ended pieces go further than a bin overflowing with single-use craft kits, and that’s exactly where Thebestkidstoys focuses its catalog.
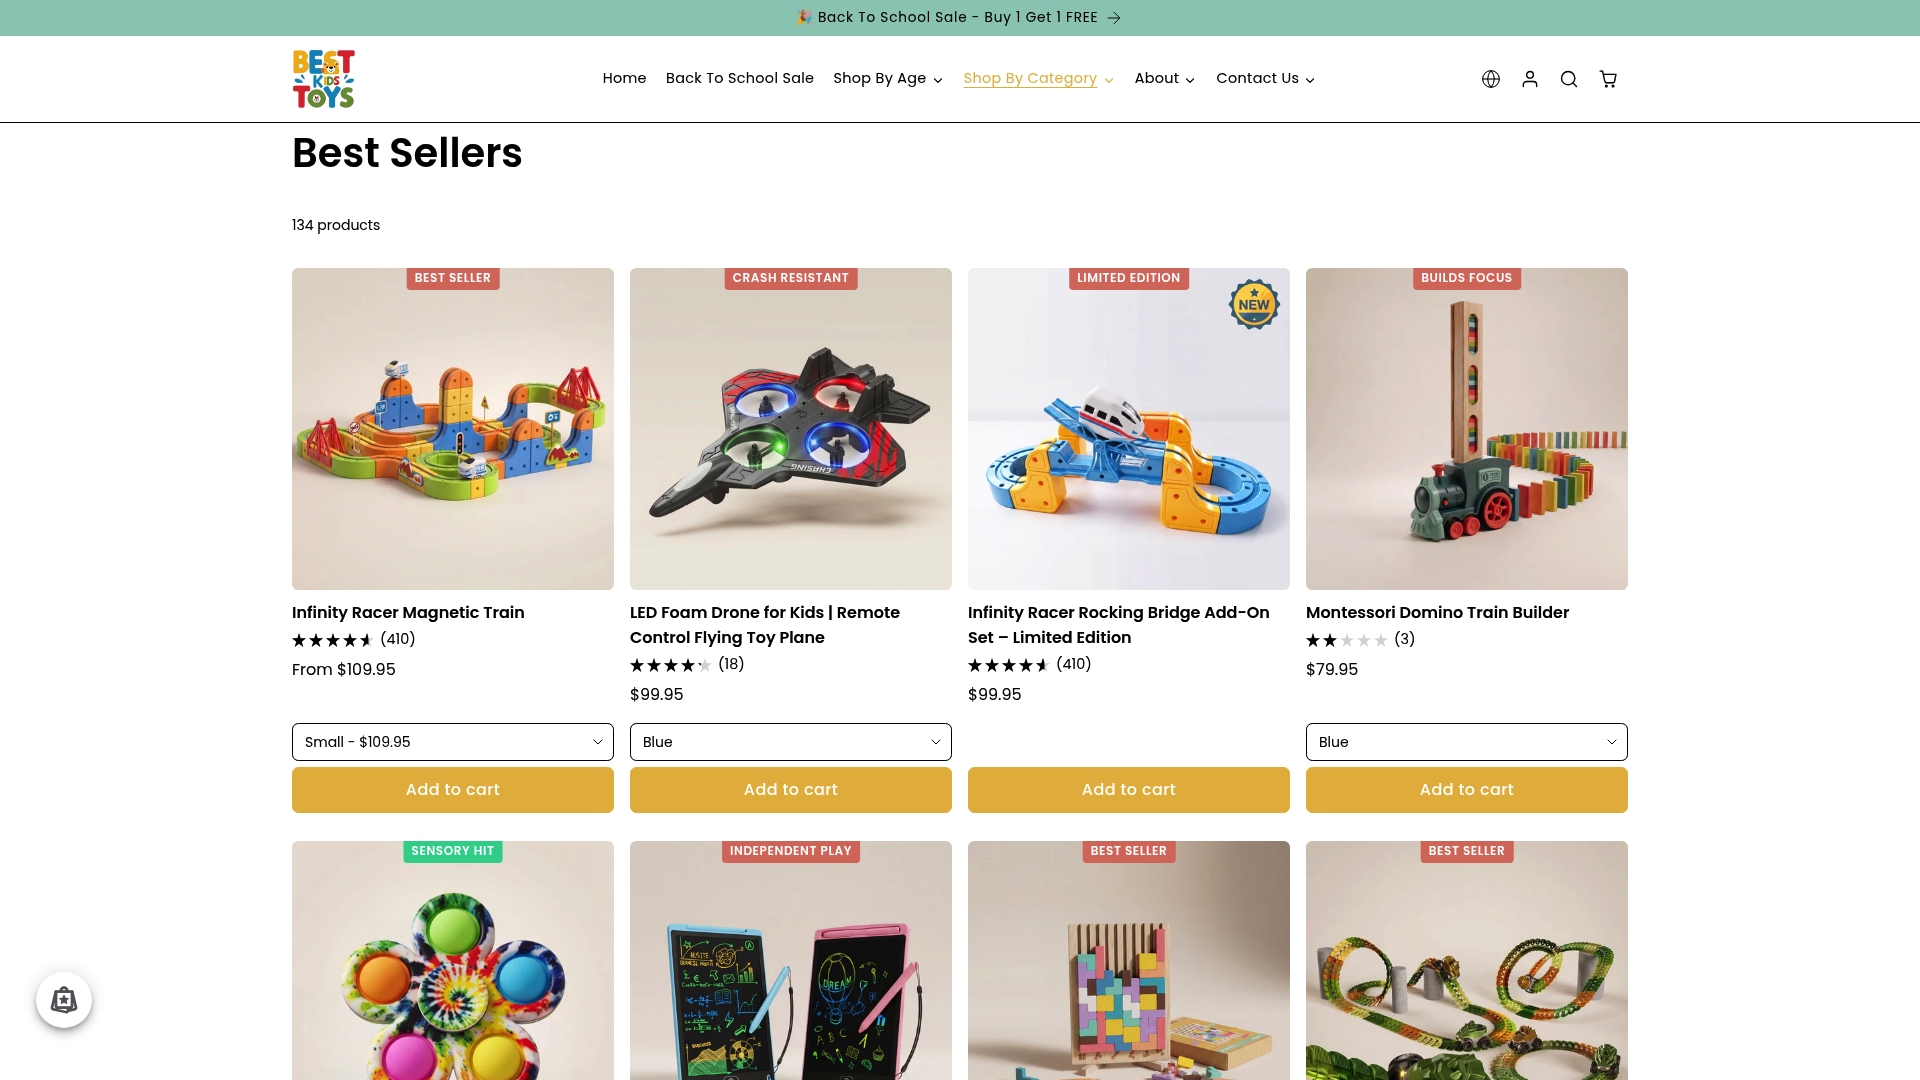
For fine motor practice that pairs naturally with process art tools like tongs, droppers, and brushes, the Little Learners Montessori Busy Book builds the same hand control kids use when gripping a paintbrush or squeezing a glue bottle. If you’re shopping by age instead, the 3 to 4 years collection and 4 to 5 years collection both group open-ended materials that complement loose-parts and sensory invitations without dictating how a child uses them. Older kids ready for more complex mixed-media work can browse the 5 and up collection for tools that scale with growing dexterity. Every pick supports the setup framework covered above rather than replacing it, so start with a category that matches your child’s current stage and build your invitation tray from there.
Sources
- What is process art for kids? | TinkerLab
- What Will We Make? Using process art to spark preschoolers’ development | NAEYC
- What Is Process Art - Process Art Examples | Little Bins for Little Hands
FAQ
Is Process Art Too Messy for a Small Home?
Not if you use containment tools like trays, muffin tins, or sealed plastic bags, which keep the mess zone small while still letting kids explore freely.
What Age Can Kids Start Process Art?
Children as young as one can start with sealed-bag or tray-based invitations, with supervision and larger, easier-to-grip tools scaled up as they grow.
How Do I Document Process Art Without Grading the Result?
Photograph the sequence of actions rather than just the finished piece, and pair each photo with a short caption describing what the child said or tried.
Can I Mix Craft Kits With Process Art?
Yes. Structured kits work well for a different kind of skill practice, but keep process-art sessions separate and free of a model piece so children aren’t nudged toward copying a sample.
What’s the Fastest Way to Set Up a Process Art Invitation?
Pick one base, one connector like paint or water, one tool, and one novelty “treasure” item, then place it on a washable surface and let the child take over.