



10–15 Minute Stage Based Scissor Skills Activities for Parents
The fastest way to improve a child’s scissor skills is a short, stage-based routine: hand-strength prep, snipping practice, then graded cutting lines and shapes. Start today with play-dough squeezes, ribbon snips, and one strip of cardstock. With regular, short daily practice, most children progress from random snipping to confident straight-line cutting over several months during the preschool years.
TL;DR:
- Most children develop basic scissor skills between ages four and five, with progress influenced by hand strength and consistent practice.
- Activities should match the child’s current skill stage, focusing on snipping, then straight lines, curves, shapes, and projects for natural progression.
- Hand strength exercises, like play-dough work and pinching games, are crucial before introducing scissors to reduce frustration and improve control.
- Dull or poor-quality scissors hinder progress, so choosing sharp, ergonomic, and age-appropriate tools is essential for safe and effective practice.
- Regular, short sessions that incorporate meaningful projects lead to faster development than long, infrequent workouts.
Table of Contents
- Scissor Skills Activities and the Natural Cutting Progression
- Scissor Practice Activities for Every Stage
- Fine Motor Exercises That Build Cutting Strength Before the Scissors Come Out
- Choosing Scissors and Materials That Actually Cut
- Ready-to-Run Cutting Lesson Templates
- Tracking Progress and Knowing When to Ask for Help
- What Actually Moves the Needle With Scissor Practice
- Fine Motor Toys and Craft Kits That Support Scissor Practice
- Sources
Scissor Skills Activities and the Natural Cutting Progression
Cutting skill develops in a predictable order, and knowing that order helps you pick the right activity instead of guessing. Children snip first (open and close the blades without controlling direction), then cut along straight lines, then curves and zigzags, and finally cut out simple shapes that require rotating the paper. This sequence, laid out in a milestone fact sheet from PLD Literacy, reflects how motor planning stacks: each stage borrows the control built in the one before it.
Mastery of basic scissor use is commonly expected by age four to five, though plenty of capable kids get there earlier or later depending on hand strength and how much practice they get. Three skills work together every time blades close on paper:
- Bilateral coordination: one hand cuts while the other turns and holds the paper steady.
- Hand strength and separation: the thumb and first two fingers open the blades while the ring finger and pinky stay tucked, uninvolved.
- Visual-motor integration: the eyes track the line while the hand adjusts pressure and angle in real time.
A toddler who can snip a strip in half has done something genuinely hard. A five-year-old cutting a wavy line without drifting off course has stacked three separate motor skills into one smooth motion.
Scissor Practice Activities for Every Stage
Match the activity to where your child actually is, not where you wish they were. Pushing shape-cutting on a child who hasn’t mastered snipping breeds frustration fast.
- Snipping stage: Hand your child a ball of play-dough and a pair of safe scissors and let them “snip” pieces off. Cutting a straw or drinking straw with scissors gives satisfying resistance and instant results. Painter’s tape stuck to a table edge, cut into confetti, works the same way. A sensory bin with pipe cleaners buried in rice adds a search-and-snip game to the mix.
- Straight-line practice: Cut paint sample strips along their printed borders, since the color blocks make progress visible. “Cut to the prize” printables, where a snipped line leads to a sticker or small picture, keep motivation high. Cardstock strips cut into 1-inch widths work well because they hold their shape better than regular paper.
- Curves and zigzags: Wavy lines drawn on strips build the “stop, adjust, continue” motion curves demand. Doily and paper crown crafts naturally require curved cuts and reward the child with something wearable. A snip-and-sort game, cutting colored paper scraps and sorting them into cups, sneaks in curve practice disguised as play.
- Shapes and projects: Simple collage work, cutting shapes from magazine pages, lets kids cut freely without worrying about a printed line. Holiday ornaments and gift tags give shape-cutting a purpose beyond the exercise itself.
Pro Tip: Keep a “cutting basket” stocked with scrap paper, old magazines, and paint chips near the craft table. Kids who can grab materials independently practice far more often than kids who have to ask for supplies every time.
Fine Motor Exercises That Build Cutting Strength Before the Scissors Come Out
Cutting demands hand strength most young children haven’t built yet, and skipping this groundwork is why so many kids fight their scissors instead of using them. OT-informed prep activities target the exact muscles scissors need, often before a child touches a blade at all.
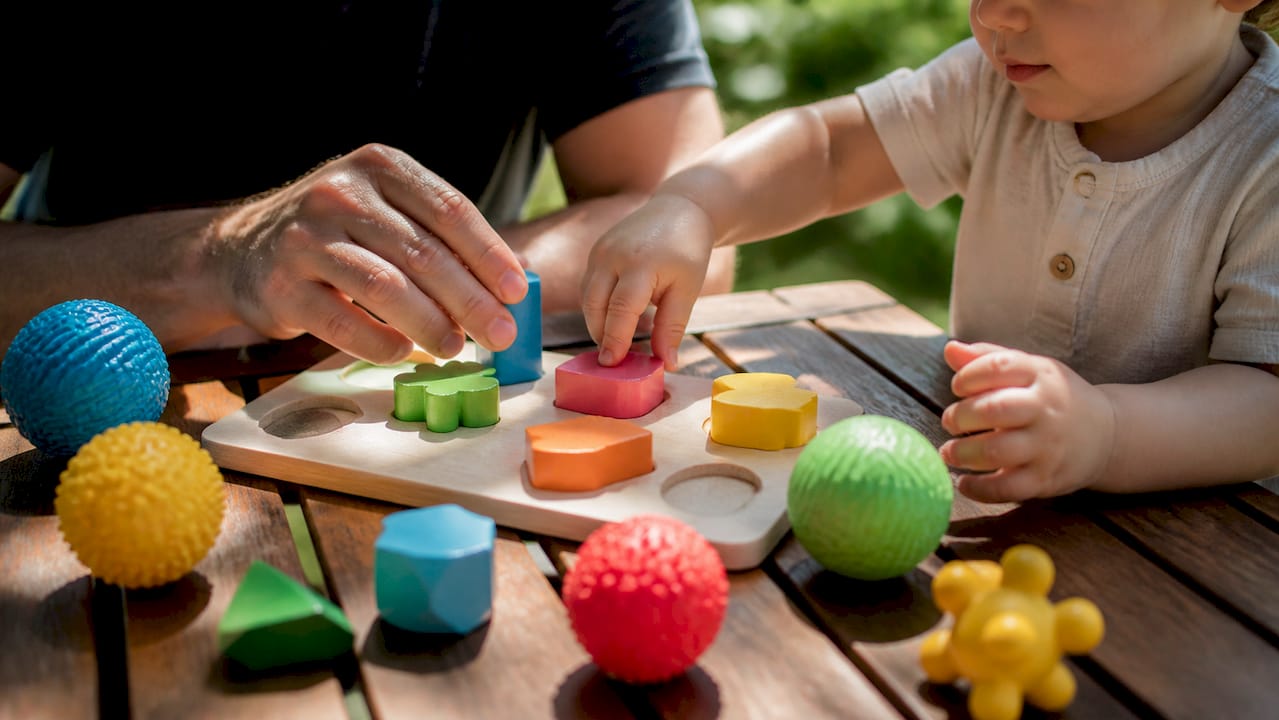
- Play-dough rolling and pinching builds the intrinsic hand strength that keeps blades moving through paper instead of stalling halfway.
- Clothespin and clip games, clipping pins around a bowl’s edge or onto a clothesline, isolate the same thumb-to-finger pinch scissors require.
- Tweezers or kitchen tongs for sorting pom-poms or cereal train precision grip and hand-eye tracking together.
- Finger isolation games, like thumb-to-fingertip touches or finger puppets, strengthen thumb opposition specifically.
- Stress ball or therapy putty squeezes build grip endurance so a child can finish a whole cutting task without their hand giving out halfway through.
Pre-scissor “skill starters” like puppet-mouth opening and tearing paper mimic the scissor motion directly, according to occupational therapy research on motor skill development, which means the transfer to actual cutting happens faster than starting cold.
Five to ten minutes, three or four times a week, beats one long weekly session. Short bursts keep frustration low and match a young child’s actual attention span. A fine motor toy rotation that mixes clips, tongs, and squeeze toys makes this easy to keep fresh without planning a new activity every day.
Choosing Scissors and Materials That Actually Cut
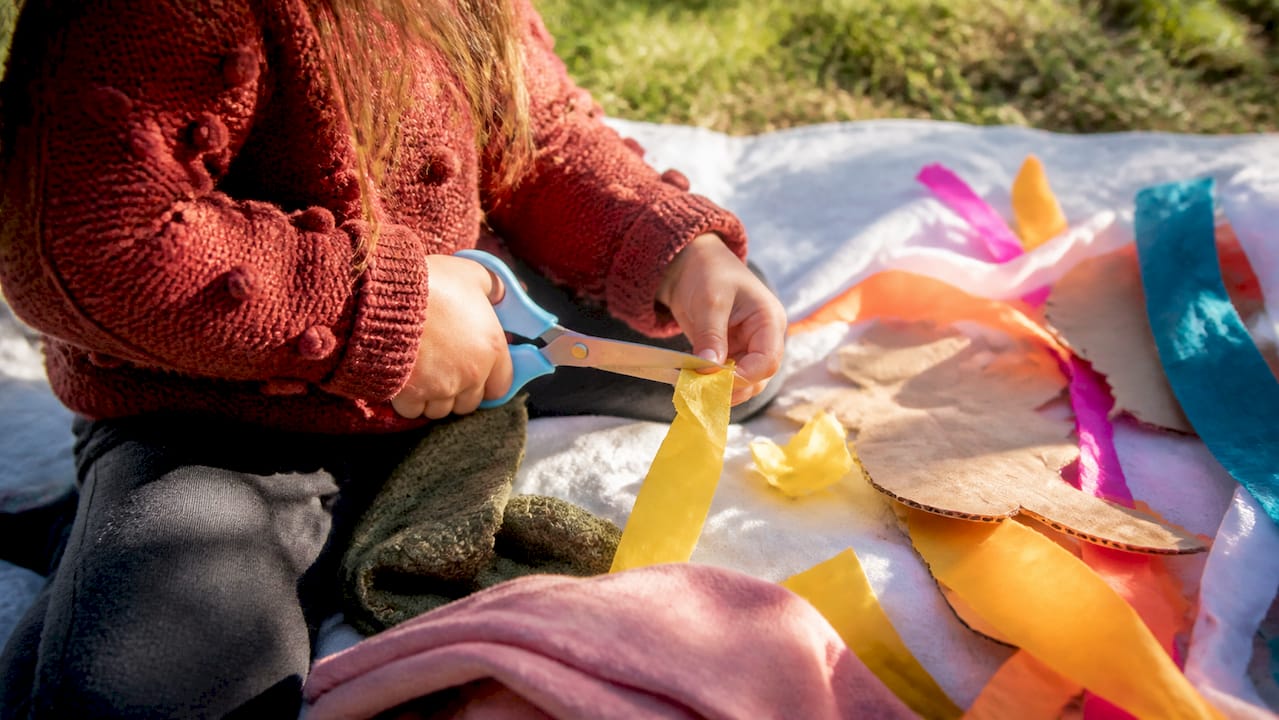
The single biggest reason kids get frustrated with scissors isn’t skill. It’s dull blades. A blunt plastic scissor that mangles paper instead of cutting it can be more discouraging, and honestly more dangerous to work around, than a proper blunt-tip metal scissor that cuts cleanly on the first try. Blade quality and material resistance directly shape how well a child performs, according to research on cutting task characteristics from the American Occupational Therapy Association.
Look for spring-loaded or loop scissors for the earliest snippers, blunt-tip metal scissors with a true cutting edge for straight-line and curve work, and left-handed options if your child favors that hand. Grade the materials as skill improves:
- Cardstock or paint sample strips first (stiff, holds its shape, forgiving of small errors).
- Regular printer paper next, once the grip and pressure control are steady.
- Magazine pages, foam sheets, or thin fabric for kids ready for a real challenge.
Keep practice safe with a short checklist: seated at a table, one pair of scissors per child, an adult within arm’s reach, and a quick blade check before handing scissors over. Your guiding hand stays on the paper, not near the blades.
Ready-to-Run Cutting Lesson Templates
These templates run 10 to 15 minutes and need almost no setup.
- Snip and Sort (ages 2 to 3): Give your child a strip of construction paper and two cups. They snip the strip into pieces and sort by color into the cups. Script: “Snip, snip, now which cup?” Progress by shortening the strip width to increase the number of snips required.
- Straight Line Race (ages 3 to 4): Draw three thick lines across a cardstock strip. Cut with your child, narrating “cut to the line, stop.” Once accuracy holds, switch to a thinner printed line and thinner paper.
- Curvy Crown (ages 4 to 5): Provide a wavy-line crown template. Model cutting the curve slowly, then hand it over. This is a natural place to introduce “turning the paper”: cut a short segment, pause, rotate the paper with the guiding hand, then continue. It scaffolds curved cuts without forcing an awkward wrist twist.
- Magazine Collage (ages 4 and up): Hand over an old magazine and a glue stick. Let your child cut out any picture they like and build a collage. No printed lines here. Free cutting builds confidence differently than guided lines do.
For printable strips, color-code by difficulty. A classroom favorite is marking a “thumbs-up” spot on the paper where the guiding hand should hold on, which is a small detail that removes a lot of guesswork for a beginner. Thicker black lines suit beginners; thinner or dashed lines raise the challenge as skill improves. Teachers using tray-based cutting activities present one skill at a time this way, then fade their help as the child gains independence, and the same structure works just as well on a kitchen table.
Tracking Progress and Knowing When to Ask for Help
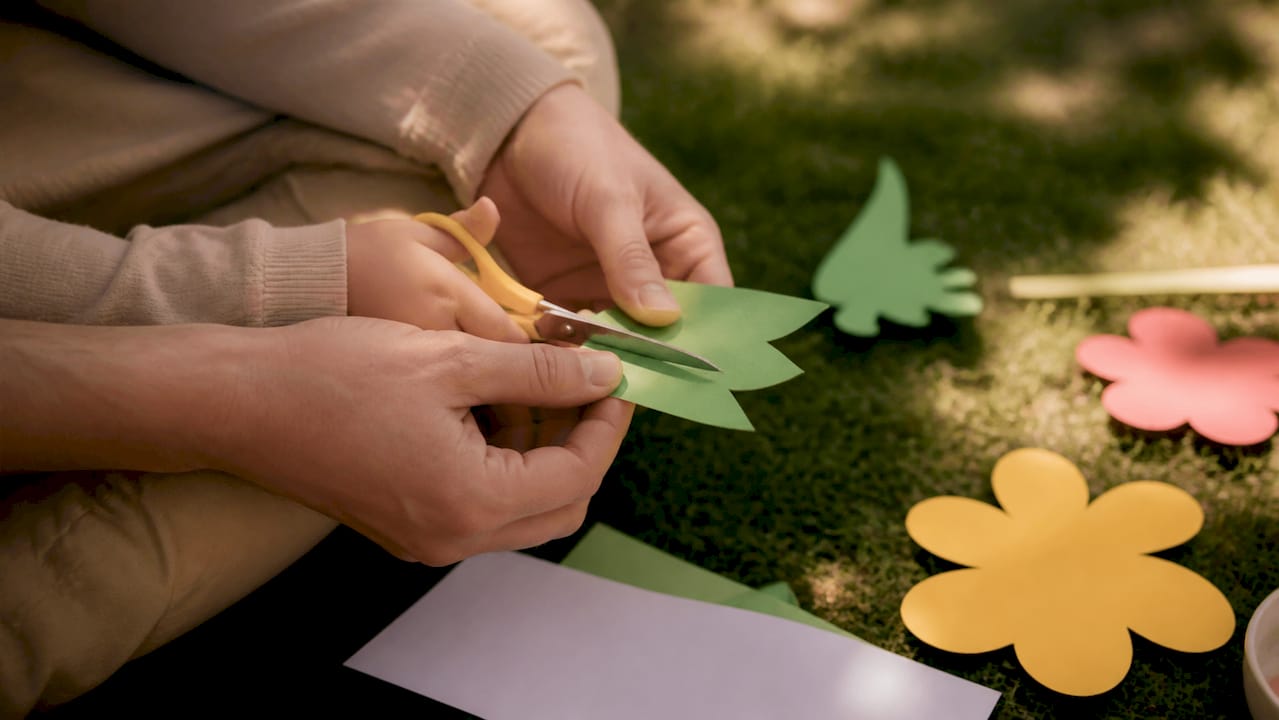
A simple checklist beats guesswork. Can your child snip a strip in half by age two and a half to three? Cut a 6-inch straight line by age three and a half to four? Cut a curve or simple shape by age four and a half to five? These benchmarks track closely with the expected mastery window of four to five years old.
Log progress with something low-effort: a sticker on a chart after each practice session, or a 10-second video clip once a month so you can actually see improvement side by side.
| Watch for | What it usually means |
|---|---|
| Can open and close scissors but paper doesn’t separate | Normal at the snipping stage; keep practicing |
| Cuts drift far off the line consistently | Needs more line-tracking practice, not harder materials |
| Persistent inability to open and close scissors past age 4 | Consider an occupational therapy evaluation |
| Extreme hand asymmetry or pain while cutting | Warrants a pediatric or OT evaluation |
Most cutting struggles resolve with more graded practice. Persistent, marked delays or pain are the signals worth flagging to a pediatrician.
What Actually Moves the Needle With Scissor Practice
Parents and teachers consistently report the same thing: kids who cut toward a finished product, a crown, a card, a collage, practice far more than kids handed a worksheet alone. The scissors matter less than what’s on the other end of the cut.
At Best Kids Toys, fine motor development shows up across product categories, not just in scissor kits, because grip strength and bilateral coordination get built long before a child ever picks up a blade. Try one of the templates above this week and watch which stage your child actually needs more time in.
— Danica Hodge
Fine Motor Toys and Craft Kits That Support Scissor Practice
Beyond the ribbon and cardstock scraps, a handful of product categories make this routine easier to sustain. Fine motor kits with clips, lacing boards, and tongs cover the prep work outlined above. Play-dough and shaping tools build the hand strength that scissors demand. Safe, blunt-tip scissors with a real cutting edge remove the single biggest source of frustration. Craft kits give kids a finished project worth cutting toward, which is exactly what keeps repetition from feeling like a chore.

When you’re shopping, prioritize actual cutting performance over cute packaging, look for blunt-tip metal blades rather than dull plastic ones, ergonomic grips sized for small hands, and an age range that matches where your child currently sits in the progression rather than where you’d like them to be. Thebestkidstoys curates its open-ended Montessori toy collection around exactly this kind of skill-building play, and a look through the craft kits built for hands-on learning gives you a project-ready starting point today. Check the collection for current promotions before you check out.
Sources
Danica Hodge drew on occupational-therapy-backed research and classroom-tested practice to write this guide. For deeper reading:
- 5 Activities to Improve and Develop Scissor Skills - NAPA | Center
- Fine motor activities for cutting skills — OT Perspective