



Tinker Tray Ideas That Turn Loose Parts into Big Learning
A tinker tray is a small, curated collection of three to five open-ended materials arranged on a shallow container to invite hands-on exploration. You can put one together in 5 to 10 minutes using items already in your junk drawer, and the payoff is real: stronger fine motor skills, longer attention spans, and creative problem-solving that no screen can match. What follows are the exact themes, materials, and setup steps to make it happen today.
TL;DR:
- Using divided containers or muffin tins can help toddlers develop sorting skills and enhance fine motor strength through categorizing physical properties.
- Small parts under 1.25 inches pose choking hazards for children under 3, so supervision and age-appropriate materials are essential for safety.
- Rotating a few categories weekly, swapping one category at a time, keeps materials fresh and encourages ongoing engagement and ownership.
- Materials should support specific skill-building, such as threading for bilateral coordination or real tools like screwdrivers for authentic engineering practice.
- Consistent weekly use and proper organization are key to maintaining a tinker tray’s effectiveness as a long-term developmental tool.
Table of Contents
- What Is a Tinker Tray, and Why Does It Work?
- How to Set Up a Tinker Tray in Under 10 Minutes
- Safety Rules and Age Adjustments Worth Knowing
- 30 Tinker Tray Ideas by Theme
- Expert Tips for Choosing Materials That Actually Build Skills
- What Actually Makes a Tinker Tray Stick
- How Thebestkidstoys Makes Restocking Easier
- Sources
What Is a Tinker Tray, and Why Does It Work?
A tinker tray differs from a sensory bin in one key way: sensory bins invite touch and exploration through texture, while tinker trays invite construction. Kids aren’t just feeling the materials, they’re combining, stacking, connecting, and inventing with them. That shift from passive sensory input to active building is where the real developmental magic happens.
The benefits show up fast once a tray becomes part of your routine:
- Fine motor strength builds as small hands pinch, twist, and thread objects together.
- Creativity gets a workout because there’s no single “correct” outcome, just possibilities.
- Focus deepens, since open-ended materials hold attention longer than single-use toys.
- Problem-solving sharpens as kids test what fits, balances, or falls apart.
Tinker trays shine during short transition windows, at a classroom center, or whenever you need ten calm minutes while dinner cooks.
How to Set Up a Tinker Tray in Under 10 Minutes
You don’t need a Pinterest-worthy setup, just a container and a plan. Here’s the quick version.
- Grab a container. A rimmed baking tray, a divided serving tray, a muffin tin, or a rinsed-out produce container all work. Divided trays and muffin tins are especially good for toddlers because separating materials into cups builds early sorting and categorization skills before a single piece gets touched.
- Pick 3 to 5 material categories, not 15 random objects. Aim for a mix of sturdy pieces (wood blocks, corks), bendy pieces (pipe cleaners, ribbon), connective pieces (clothespins, rubber bands), hollow pieces (bottle caps, cardboard tubes), and loose parts (buttons, stones). Grouping by what the material does physically, rather than what it looks like, lets kids actually engineer instead of just arranging a collage.
- Store and rotate. Sort extras into labeled jars or zip bags so restocking takes seconds, not a scavenger hunt through your garage.
Pro Tip: Keep a “reserve bin” of unused materials in the closet and swap just one category each week. A single new item, like fabric scraps instead of ribbon, is often enough to make a familiar tray feel brand new.
Safety Rules and Age Adjustments Worth Knowing
Small parts are the biggest risk factor here, and the rule is simple: anything under 1.25 inches is a choking hazard for children under 3, so skip buttons, beads, and tiny fasteners for that age group entirely. Supervision matters more than the materials themselves.
- Keep scissors, hand drills, or screwdrivers for kids old enough to use them with direct adult supervision, and never leave sharp tools unattended in a tray.
- If you’re building a STEM-focused tray with dismantled electronics, remove all batteries first and cut any cords to prevent strangulation risk.
- For toddlers, simplify: fewer categories, larger pieces, and softer materials like fabric or foam.
- For older kids, add challenge with fasteners, connectors, or a timer for a “build it fast” twist.
Adjust the complexity to the child in front of you, not to what looks impressive in a photo.
30 Tinker Tray Ideas by Theme
Here are six themes with real, ready-to-assemble ideas. Pick one category, gather three to five items, and you’re set for the afternoon.
Craft and fine motor
- Pom-poms, tweezers, and an egg carton for sorting practice.
- Clothespins, colored yarn, and cardboard for weaving techniques.
- Buttons, pipe cleaners, and a colander for threading.
- Wooden beads, shoelaces, and a small basket for lacing patterns.
- Fabric scraps, safety scissors, and a hoop for a mini loom.
STEM and engineering 6. Cardboard tubes, tape, and marbles for a homemade ramp. 7. Zip ties, cardboard tabs, and craft sticks for bridge-building. 8. Child-safe screws, a small screwdriver, and scrap wood for real construction. 9. Old remote parts (batteries removed) and a screwdriver for supervised dismantling. 10. Rubber bands, popsicle sticks, and clothespins for catapult experiments.
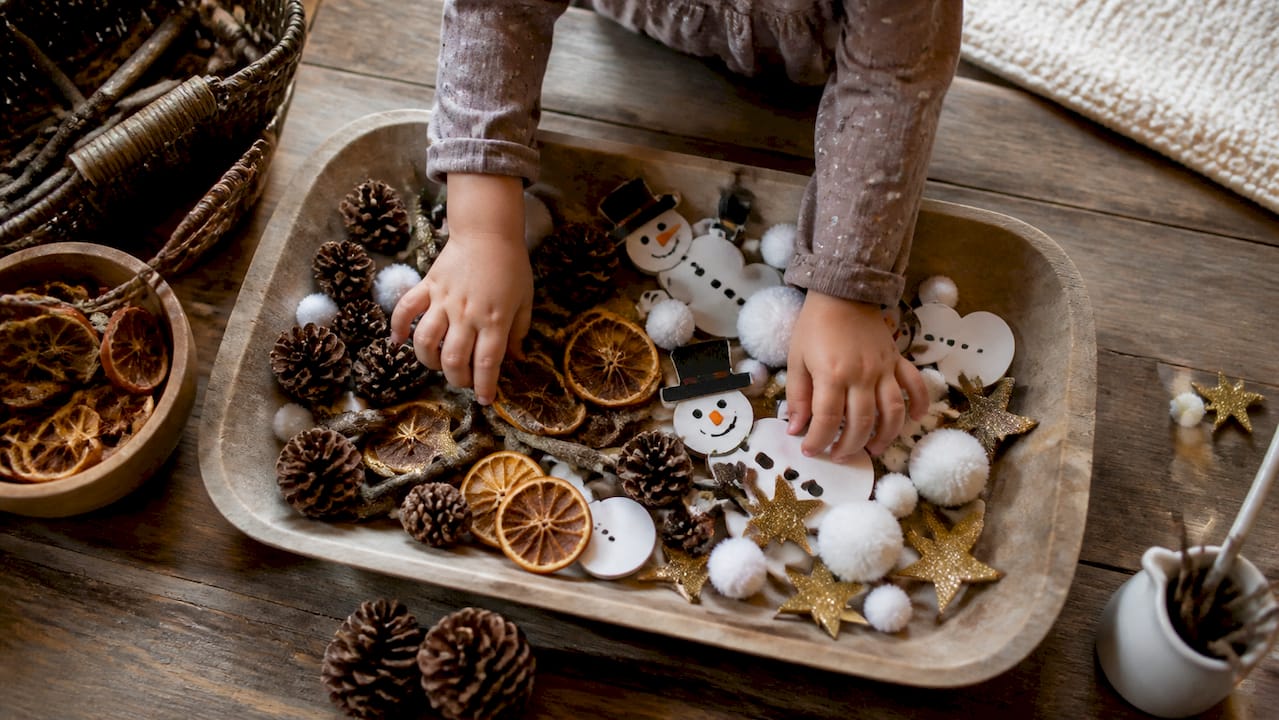
Nature-based 11. Pinecones, acorns, and twigs for open sorting and stacking. 12. Rocks, a magnifying glass, and a tray of sand for exploration. 13. Leaves, a hole punch, and string for nature garlands. 14. Shells, tongs, and a shallow water dish for transfer play. 15. Dried flowers, wax paper, and tape for simple pressing crafts.
Loose parts and building 16. Wooden blocks, corks, and bottle caps for freestanding structures. 17. Bristle blocks, felt shapes, and mirrors for reflective builds. 18. Wine corks, toothpicks, and dried peas for 3D shape building. 19. Recycled bottle caps, glue dots, and cardboard for collage sculpture. 20. Wooden discs, rubber bands, and craft sticks for tension experiments.
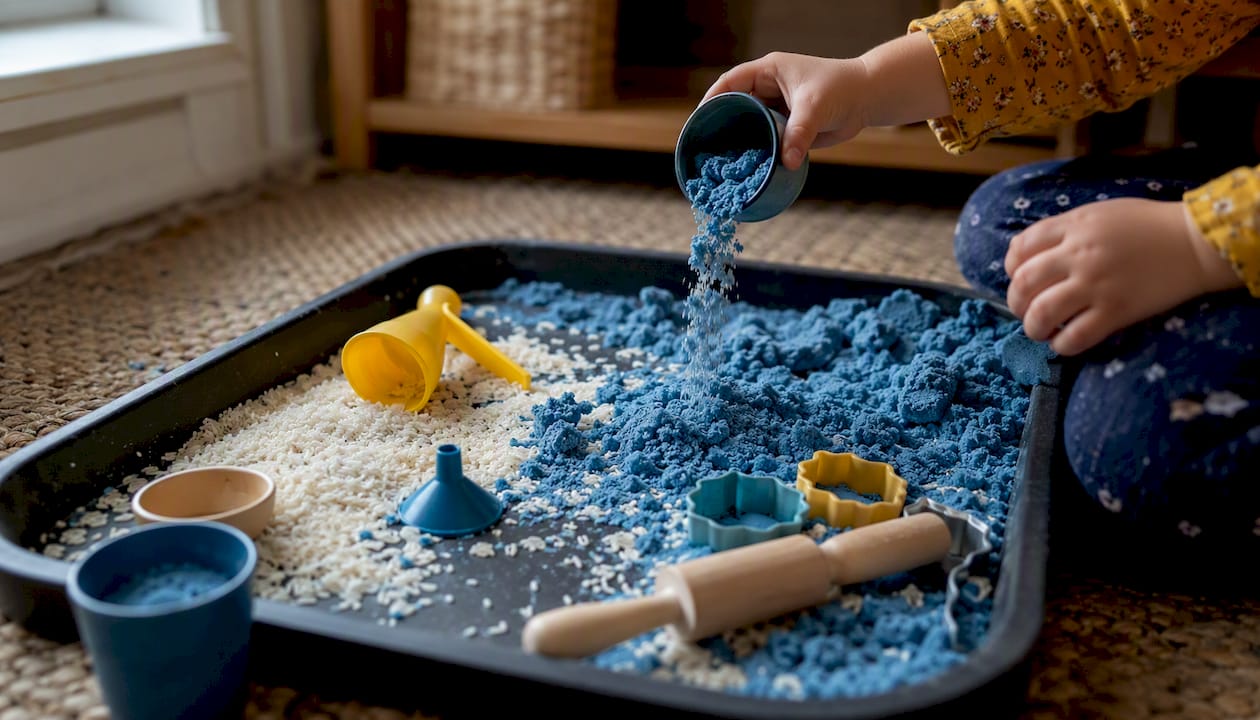
Sensory-focused 21. Rice, funnels, and small cups for pouring and scooping. 22. Kinetic sand, cookie cutters, and a rolling pin for texture play. 23. Water beads, spoons, and a shallow bin for scooping practice. 24. Textured fabric swatches and a blindfold for a guessing game. 25. Scented playdough, rolling pins, and stamps for multisensory building.
Seasonal and holiday 26. Fall: acorns, mini pumpkins, and cinnamon sticks for a harvest tray. 27. Winter: cotton balls, silver pipe cleaners, and paper snowflakes. 28. Spring: plastic eggs, silk flowers, and pastel pom-poms. 29. Summer: seashells, sand, and small beach pails for outdoor play. 30. Any season: a printed challenge card asking kids to “build a creature” or “make something that rolls,” which gives hesitant builders a starting point without dictating the outcome.
Most of these cost nothing beyond what’s already in your recycling bin, though a few, like wooden beads or bristle blocks, are worth buying once and reusing for years.
Expert Tips for Choosing Materials That Actually Build Skills
Every material in a tray should scaffold something specific. Small, uneven objects like buttons build grasp strength. Threading and lacing tasks build bilateral coordination, using both hands together toward one goal. Multi-step builds, like a ramp with a catch at the bottom, build sequencing.
Montessori classrooms favor real materials over plastic novelty toys for good reason. Real materials give honest feedback: a wooden peg either fits or it doesn’t, unlike a toy designed to work no matter what a child does with it.
- Choose single-purpose tools (small tongs, a real screwdriver) over multi-function gadgets.
- Rotate in loose-parts kits and open-ended manipulatives rather than character-branded toys.
- Pair a tray with a tinker toy set that already scaffolds connection and structure.
Pro Tip: If a material only works one way, it’s a toy. If it works ten different ways depending on the child, it belongs in the tray.
What Actually Makes a Tinker Tray Stick
Most tinker trays fail not because the materials are wrong, but because they get set up once and forgotten in a closet. The trays that get used for months, not days, share one habit: someone commits to touching them weekly.
Pick one day to swap a single category. Let your child restock the jars themselves; ownership drives return visits more than novelty does. Keep the tray visible on a shelf, not tucked in a bin, and watch what gets used versus ignored. That’s your real feedback.
— Danica Hodge
How Thebestkidstoys Makes Restocking Easier
Building a tinker tray from scratch is satisfying, but restocking one every week takes a steady supply of open-ended pieces that hold up to real use. That’s where a curated starter set saves you a trip to five different aisles. Thebestkidstoys stocks open-ended toys built for exactly this kind of hands-on exploration, wooden manipulatives and Montessori-style tools that pair naturally with whatever’s already in your tray.
If you want a ready-made companion piece rather than building everything from loose parts, the Little Learners Montessori Busy Book offers structured fine-motor tasks that complement open tray play without replacing it. It’s a simple way to round out a rotation when you’re short on time. Browse the collection, pick one or two pieces that fill a gap in your current lineup, and add them to your next rotation.
Sources
The Hirshhorn Museum’s tinker tray guide covers quick, recycled-material setups. TinkerLab’s invention box offers printable prompt cards for reluctant builders. KC Edventures details safe STEM tray practices. Vivvi’s play invitation guide explains the Reggio Emilia thinking behind minimal, purposeful setups.
- Stock your studio: Tinker trays — Hirshhorn Museum
- DIY Tinker Box Ideas & Invention Box - TinkerLab
- Make Your Own Tinker Box & Build Robots {STEM Project for Kids} - KC Edventures