



Build a Low Cost Sensory Path at Home in Under an Hour for Parents
A sensory path at home is a short, guided route of movement and tactile stations that helps kids burn energy, practice motor skills, and refocus in minutes. You map it with tape, chalk, or mats, add a few textures and prompts, and let your child hop, crawl, or balance their way through. It costs almost nothing to build and takes less than an hour to set up.
TL;DR:
- Most materials for a sensory path are readily available at home and cost little to nothing, with a typical setup taking less than an hour.
- Using painter’s tape or chalk makes it easy to create a safe, non-slip route with stations like balance lines, textured modules, and simple prompts.
- Shorter, softer paths with fewer stations are safer for toddlers, while preschoolers and elementary students can handle more complex and timed activities.
- Regular testing, supervision, and replacing worn or unsafe materials ensure safety and engagement, especially for younger children.
- Changing themes every few weeks helps maintain a child’s interest and adds variety to the motor and sensory challenges.
Table of Contents
- What Materials Do You Need for a Sensory Path at Home?
- What Are Some Easy DIY Sensory Path Ideas?
- How Do You Build a Sensory Path Step by Step?
- Is a Sensory Path Safe for Younger Kids?
- How Can You Add Themes and Progression to a Sensory Path?
- Why This Approach Works Better Than Buying a Pre-Made Kit
- Want Sturdier Pieces for Your Sensory Path?
- Sources
- FAQ
What Materials Do You Need for a Sensory Path at Home?
You don’t need a shopping spree to gather sensory path materials. Most of what you need is already in a closet, a junk drawer, or a recycling bin, and the rest costs just a few dollars.
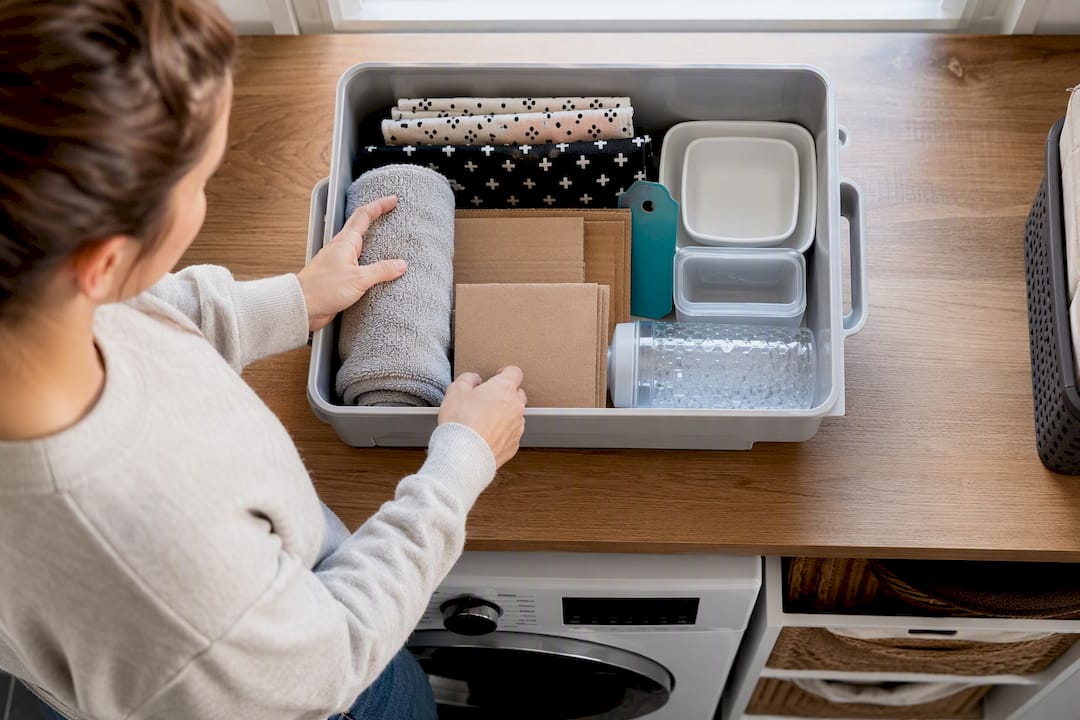
Start with your base layer. Yoga mats and foam tiles give a stable, non-slip surface for jumping and balancing stations, but old towels, bath mats, or flattened cardboard boxes work fine as budget swaps. For marking a route, painter’s tape is the classroom-tested favorite because it peels off floors and walls without leaving residue, while sidewalk chalk handles anything outdoors. Stickers and printable posters add visual variety without much setup time, and Sanford Fit’s free printable activity sets are a genuinely useful shortcut if you’d rather skip the design work entirely.
For the tactile stations, common household sensory path materials include:
- Bubble wrap taped down for a popping texture station
- Textured fabric scraps (felt, faux fur, corduroy) for a touch-and-guess game
- A shallow tray of rice, dried beans, or pebbles for a foot-dip stop
- Bath towels rolled into balance logs
- Smooth stones or foam stepping pads for a hop sequence
Wash fabric and trays between uses, and skip anything with small loose parts if you have a child under three still exploring with their mouth.
Pro Tip: Keep a small tote bin of sensory path supplies packed and ready. When rainy-day energy hits, you can lay out a full path in under ten minutes instead of hunting for materials room to room.
What Are Some Easy DIY Sensory Path Ideas?
The fastest way to start is to copy a layout that already works, then tweak it for your space. Sensory paths are simply a sequence of guided sensory motor tasks marked on the ground or wall, and Sanford Fit notes they can be built from whatever you have at home. Here are five layouts worth trying first.
- The outdoor chalk path. Draw a hopscotch grid, a wiggly balance line, and animal footprints leading to a “freeze and count to five” spot. Add a number or letter inside each shape so kids practice counting or naming while they move.
- The indoor tape hallway. Stick a straight balance line down the hall, follow it with a zigzag for side-stepping, then finish with paper footprints spaced for two-footed jumps. Hallways work well because the width naturally limits kids to one direction of travel.
- The mat and texture station. Lay two or three mats end to end, each topped with a different texture (bubble wrap, a fuzzy towel, a tray of dry rice). Kids cross barefoot or in socks, pausing to describe what they feel.
- The printable prompt path. Tape down laminated cards with simple actions like “hop like a bunny” or “spin twice,” swapping cards weekly to keep it fresh without rebuilding the whole layout.
- The compact apartment version. If space is tight, shrink the path into an L shape around a hallway corner or a bedroom perimeter, using just three stations instead of six.
Small-space troubleshooting matters here. If you’re short on floor room, cut the number of stations rather than the space between them, and consider a fold-up version using foam tiles that store flat under a bed when playtime ends.
How Do You Build a Sensory Path Step by Step?
Building the layout is the part parents overthink. In practice, it’s five steps you can knock out in one sitting.
- Pick the space. A hallway, a spare room, or a stretch of driveway all work. Measure the length so you know how many stations fit. A hallway of suitable length comfortably holds several stations spaced evenly apart.
- Map the sequence before you tape anything down. Plan a rough arc: a calm warm-up step (like a stretch or slow balance walk), a few active stations (jumping, crawling, spinning), then a cool-down stop (deep breaths or a squeeze ball).
- Secure everything. Use painter’s tape in long, flat strips pressed firmly at the edges so socked feet don’t catch a corner. Add a non-slip rug underlay beneath any mat that shifts on hard flooring, and tape printable cards down on all four sides, not just the top.
- Test-run the path yourself before your child does. Walk or hop through it to check spacing, then time it. Most home paths take one to three minutes per lap, which fits neatly into a homework break or a transition between activities.
- Plan for storage. Roll tape-based paths up as a strip if you used a runner, or simply peel tape off in one session since it’s cheap enough to redo weekly with a new theme.
Pro Tip: Build the path near a natural transition point, like the route from the front door to the kitchen. Kids are far more likely to use a sensory path they pass by daily than one tucked in a room they rarely enter.
Is a Sensory Path Safe for Younger Kids?
Safety comes down to three checks: the surface, the supervision, and the sensory load. Before your child takes a lap, walk the whole path and press down on every mat and tape strip to look for lifted edges. Guides on home sensory paths consistently flag non-slip underlays and close supervision for kids under five as the two most important safeguards.
Age adjusts everything else:
- Toddlers do best with shorter paths (three or four stations), softer textures, and bare feet or grippy socks instead of shoes.
- Preschoolers can handle a full six-station loop with mixed textures, but skip anything with small loose pieces that could become a choking hazard.
- Early elementary kids can take on timed runs, higher jump heights, and more intense textures like coarse gravel trays.
If a child seems overwhelmed rather than energized, cut a texture or shorten the session rather than pushing through. Wash fabric stations and rice or bean trays regularly, and check for nut or latex content in any materials if allergies are a concern. A child who consistently avoids or melts down over textures that don’t bother peers may benefit from a conversation with a pediatric occupational therapist rather than more DIY troubleshooting at home.
How Can You Add Themes and Progression to a Sensory Path?
A sensory path stays interesting when it changes with your child’s mood and skill level, not when it stays fixed forever. Rotating a theme every week or two keeps the novelty that makes kids want to use it.
Try these themes as starting points:
- Animal path: hop like a rabbit, crawl like a bear, waddle like a duck.
- Alphabet or counting path: land on each letter or number and say it out loud.
- Color path: step only on a called-out color, turning it into a quick reaction game.
- Calm-down path: slow stretches, deep breaths, and a squeeze-ball station for kids who need to settle rather than expend energy.
Pairing a physical action with a small mental task, like naming a letter or counting steps, gives each station a dual job: building motor planning while reinforcing academic recall. As your child masters a layout, raise the challenge by adding a balance beam, timing the run with a stopwatch, or turning it into a two-person race. Rotating between proprioceptive stations (heavy work like crawling or pushing), vestibular ones (spinning, balance beams), and tactile stops (textured trays) keeps the sensory input varied rather than repetitive.
Why This Approach Works Better Than Buying a Pre-Made Kit
The instinct to buy a finished sensory kit is understandable, but the research on this actually favors the messier, cheaper route. Homemade versions tend to get redesigned more often, and that redesign process, letting your child pick the next theme or suggest a new station, is where a lot of the engagement comes from rather than the materials themselves.
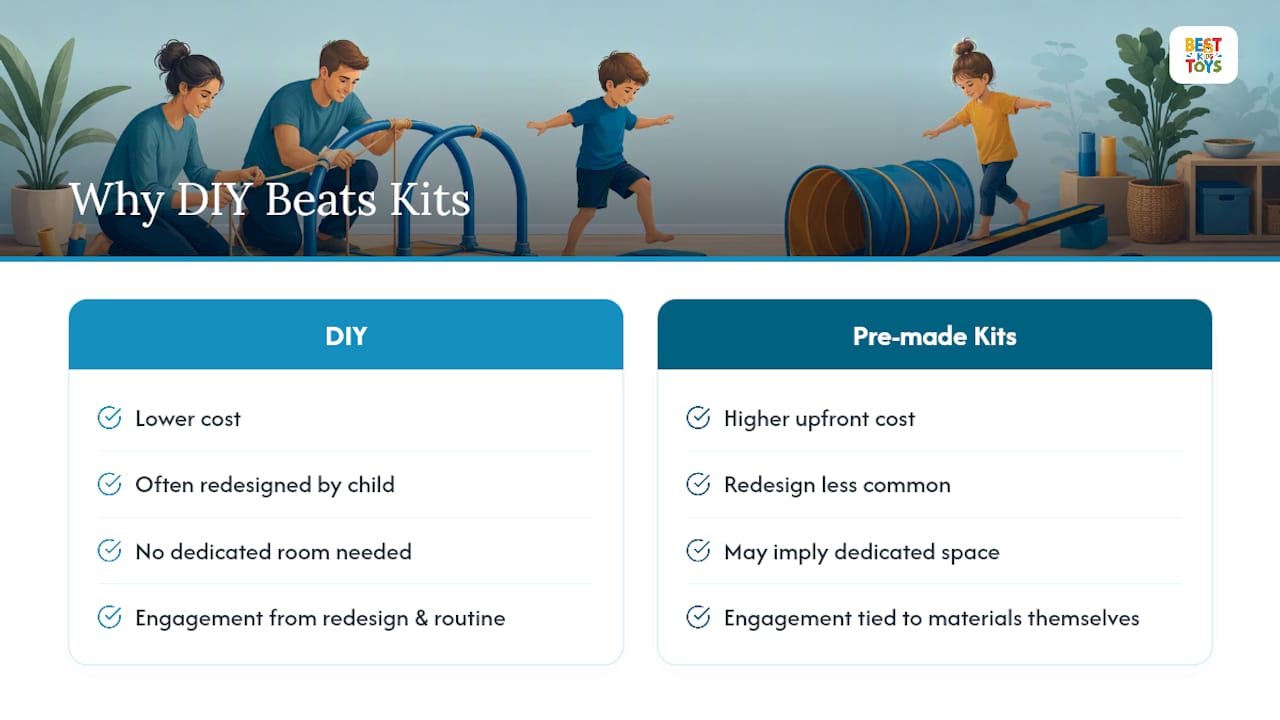
I’d push back on one common assumption: that a “proper” sensory path needs a dedicated room or a big budget. The best examples from classrooms are painted shapes on asphalt and taped lines in hallways, not elaborate installations. What matters more is consistency, using the path as a real brain break tied to a transition like homework time or after screen use, rather than a novelty that gets set up once and forgotten. A short, repeatable routine beats an impressive one-time build every time.
Where a product genuinely helps is in the pieces that get heavy daily use, like balance stepping stones that hold up better than a stack of towels, or texture and sound-based toys that add sensory variety a DIY station can’t easily replicate. Treat those as optional upgrades, not requirements, and keep testing what actually holds your child’s attention.
— Danica Hodge
Want Sturdier Pieces for Your Sensory Path?
Building the whole path from tape and towels works, and plenty of families never need anything else. But if certain stations get worn out fast, like a balance line that slips or a texture toy that falls apart after a few weeks, swapping in a few durable pieces saves you from rebuilding the same station every month.
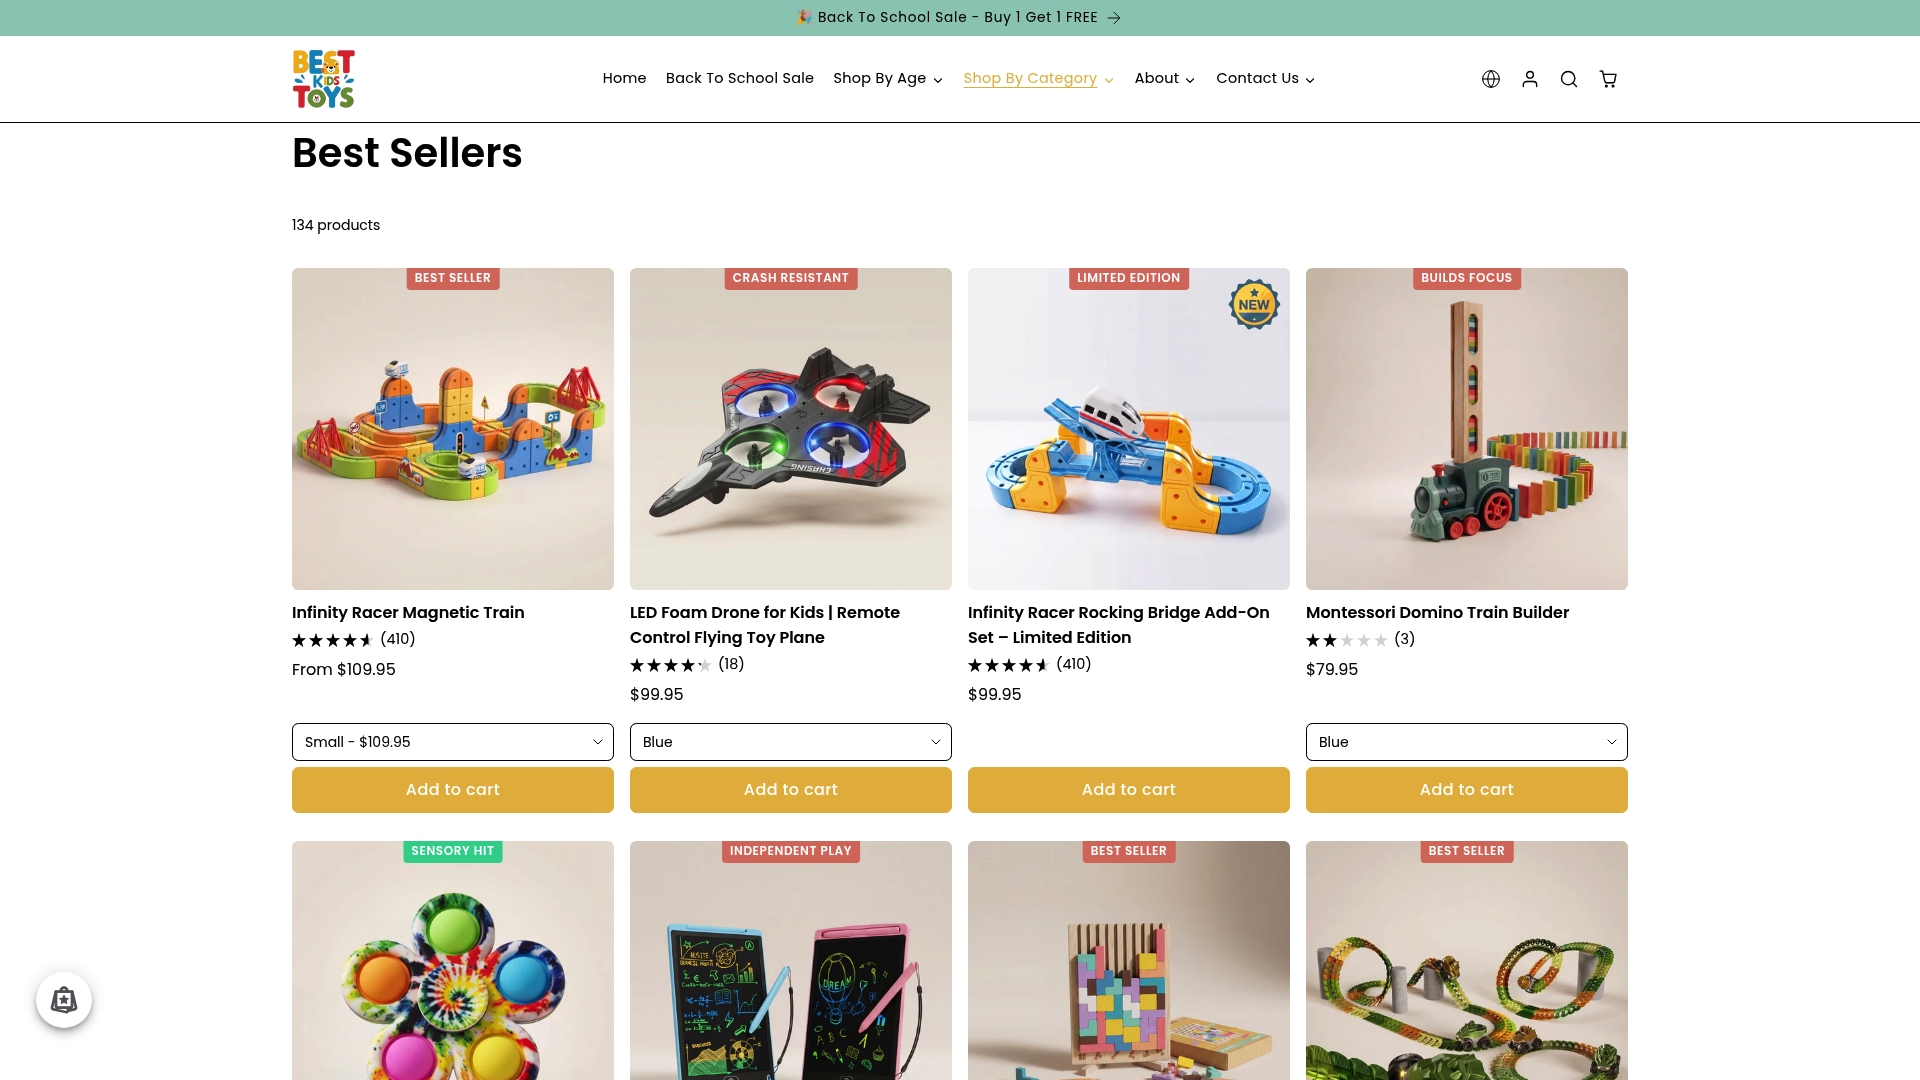
There are curated sensory and balance pieces that hold up to daily hopping, crawling, and stacking, so the stations your child uses most don’t need constant DIY patchwork. Our sensory toys collection covers textured and balance-based options you can drop into an existing path in minutes, and every product goes through a safety review before it’s listed. If you want to browse a few sturdier station pieces to supplement what you’ve already built, start with our best-selling picks and see what fits your layout.
FAQ
How can I make a homemade sensory path?
Tape or chalk a route of four to six stations across a hallway, driveway, or spare room, mixing balance lines, jumping spots, and a textured tray or two, then test it yourself before your child tries it.
What are some sensory activities I can do at home?
Beyond a full path, simple options include a rice or bean foot-tray, a bubble wrap stomp mat, a texture guessing game with fabric scraps, and a “freeze and stretch” calm-down corner.
What are sensory paths?
A sensory path is a marked sequence of movement and tactile tasks, shown with tape, chalk, or printables, that kids follow to get a quick sensory motor break.
What are some ideas for a sensory walk?
Popular ideas include animal-themed hopping paths, alphabet or number stepping stones, color-matching games, and calm-down stretch stations, all of which can rotate weekly to stay engaging.